Sara Golden Jewelry

A Sustainability Check-In

In the Studio, CultureSara GoldenComment
"Eco Jewelry Handbook" by Christine Dhein

With the world coming alive again and Earth Day coming up on the 22nd, I’ve been thinking a lot about the environment and my role in it. I wanted to look more closely at my and my jewelry company’s environmental impact and realized that I could be doing a lot more than I currently am (and also, what have I been waiting for?)

I’d already been casting jewelry with recycled brass and silver as well as fairmined gold (fairmined is more about how we treat the people that mine the gold vs. its environmental impact, which still feels important). I’d also been using recycled paper whenever possible, including recyclable mailers and crinkle package filler made of mostly recycled papers.

…But that’s it. Embarrassing, right?

So I did some digging and asking around, picked up Christine Dhein’s “Eco Jewelry Handbook,” and started making some changes:

  • Jewelry-making requires lots of chemicals and potions — I’ve begun replacing them with more earth-friendly alternatives that are easier to neutralize and dispose of. This is especially important to me considering I live in the Catskill Watershed, an area whose water feeds the reservoirs that then feed NYC and the surrounding areas; we have to be extra careful about what goes down our drains, into the soil, and into the water.

  • Using EcoEnclose for as much of my packaging as possible, which includes fully recyclable postage stickers and mailers. Soon that will include packing tape and printed materials, too.

And in the next few months I’ll start:

  • Planting a tree for every order placed with One Tree Planted starting this month. This organization has already planted over 40 million trees, working with partners all over the world including the U.S. Forest Service here in the US.

  • Switching to bio-degradable zip bags — every piece of jewelry gets stored in its own bag, so many jewelers (like me) are drowning in them. Not knowing any better, I bought the regular ones in bulk a while ago but once I’m through my current stash I’m making the switch.

  • Reducing the paper stuff that’s included in each order, like skipping envelopes and printed invoices (but keeping gift receipts).

Have you seen other companies doing awesome things for the environment that you think I should consider, too? I’ll readily admit that I’ve got a lot of room for growth, so if you’ve seen something please do share!

How It’s Made: Wax Carving a Ring

In the StudioSara GoldenComment

I’d love to be one of those people with an immaculately clean, magazine-worthy studio, but I’m finally coming to grips with the fact that I’m just not. I don’t *want* to be this way, I promise.

Case in point: my current workbench, which you can see at the top of this post.

The reason for my current mess is that I’ve been trying hard to avoid distraction, get my butt in my studio chair more, and work on new pieces. That involves a lot of wax carving (very messy but very fun), a technique where I carve exactly the piece I want using a block of wax and files, make a mold of the wax, then cast in metal.

I just finished carving a ring I've been dreaming of for a while, a chunky brass ring with a beautiful, deep blue lapis lazuli, and wanted to share the process of making that first wax model with you:

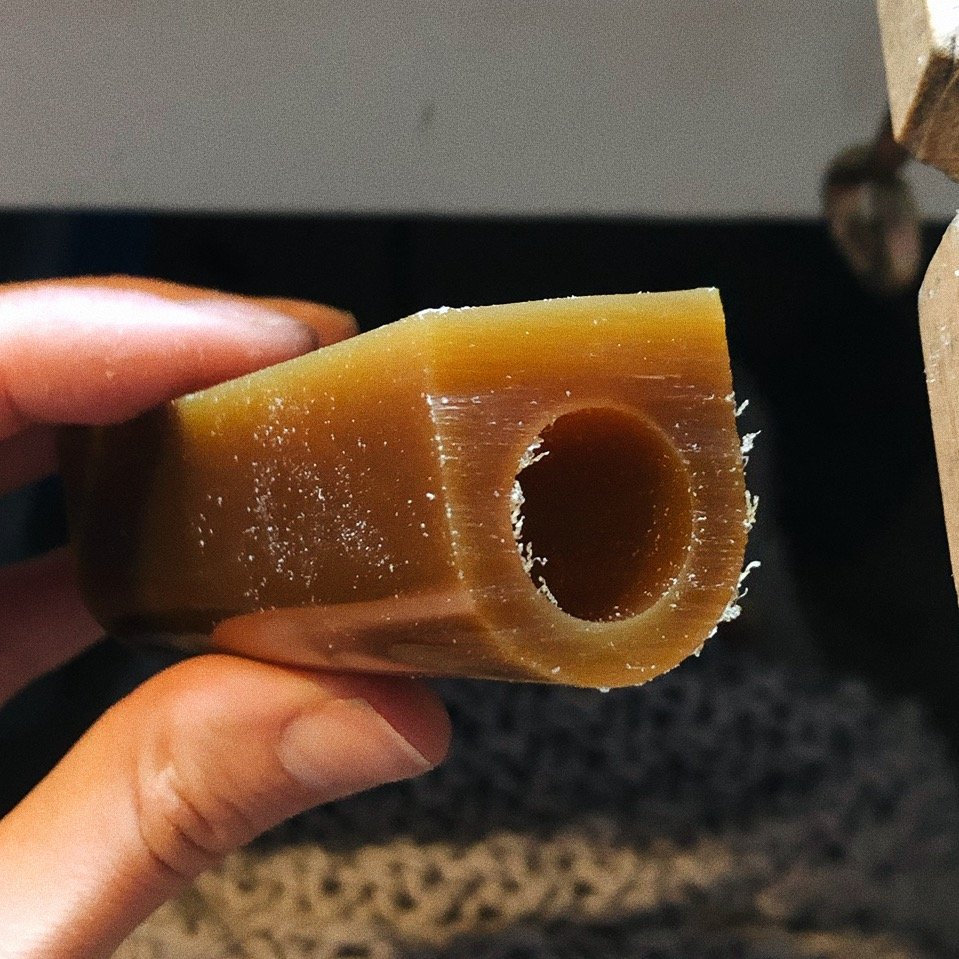
Wax tube

A wax tube specially made for carving rings.

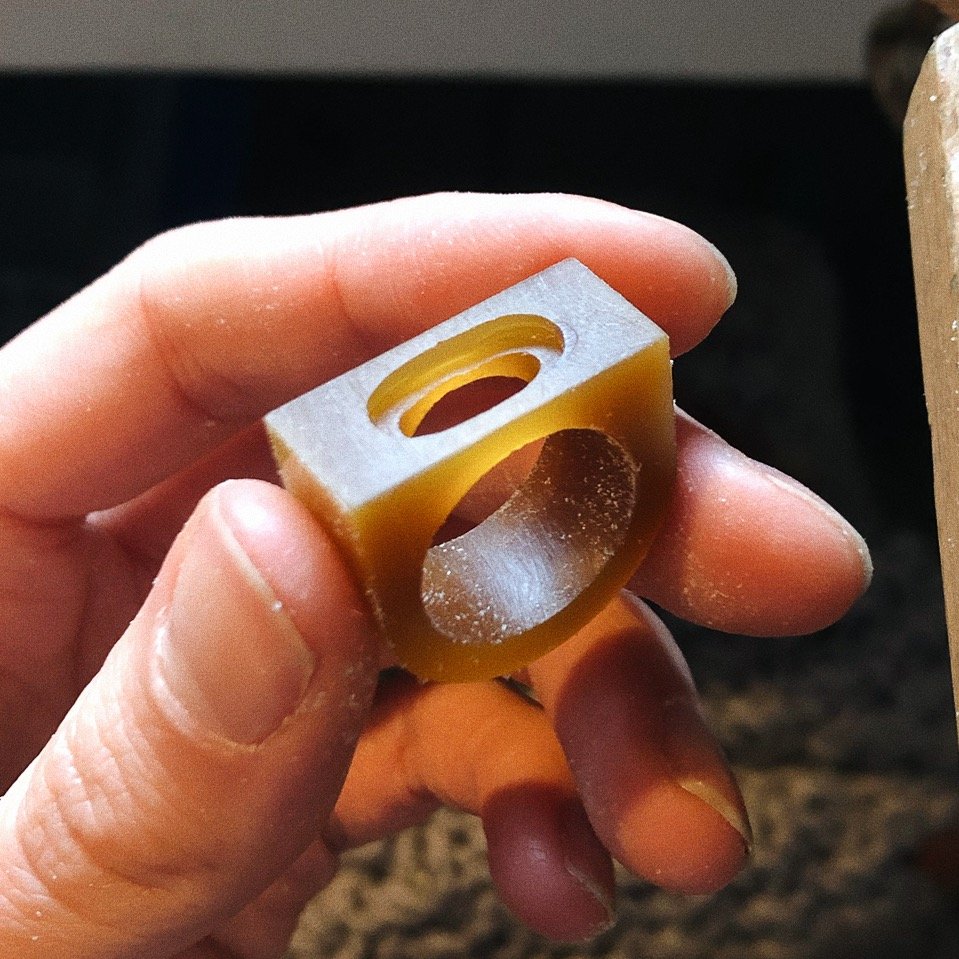
Wax carved shape

The roughly carved shape with a space for the stone.

This ring started as a long wax tube with a hole running through the center. I cut off a section exactly the size I needed, and carved the center hole bigger to fit a finger. I had a true-to-size sketch with exact measurements already figured out, so I carved away more wax from the outside based on those numbers (I hate math, this is not my favorite part) until the whole thing was a rough, geometric version of the ring I had in mind.

Next I traced the oval stone on the flat top of the wax, and dug that shape out to give the stone a place to sit. I carved a smaller oval straight through the top of the ring — you won’t see it when the stone is in place, but it will help the ring feel less heavy and clunky when you’re wearing it.

Wax carved ring coming along

Look! It’s actually a ring now!

Adding wax beads

Making wax beads that’ll get attached to the ring.

Next I carved the contours of the ring, leaving a border around where the stone will go. It’s a slow process — carve, carve, check how it’s looking, repeat 30 more times — but this is when it *really* starts looking like a ring.

Happy with the shape, I moved onto making tiny wax beads. I cut up small bits of wax wire and used a heat pen to ball them up into little spheres. I made little divots along the edge of the ring where they’d eventually go, and attached them with more heat, melting their surfaces together.

Wax carved ring model

Ta-da! The finished ring model.

Silver ring model and original wax

A cast silver model vs. a wax model.

Lastly I cut more wire to make prongs that will hold the stone in place, and used the heat pen to attach them to the top. I checked to make sure the stone would still fit, and voila! She’s ready for casting. Here’s a photo of the finished wax next to an earlier version I already had cast so you can see the before and after.

The whole process took about 3 1/2 hours, and it’s so worth it to get that slightly irregular, hand-wrought feeling that I love in jewelry. Now she’s off to be cast in silver, made into a mold, and then (if I’m happy with how she’s looking) cast for real in brass and set with the lapis.

I’m working out more pieces this same way, and can’t wait to share the final results with you!

My Mantra for 2022

On a Personal NoteSara GoldenComment
Filing a cuff at the work bench

Are you into New Year’s resolutions? I, personally, gave up on them a few years ago since I'd usually forget them around April (except baking-related ones, obviously). Last year I switched to an annual mantra, instead — I like that it doesn’t feel like homework, but instead guardrails steering you in a better direction.

Prioritize Deep Work

This year my mantra is “Prioritize Deep Work,” very much inspired by Cal Newport’s book, "Deep Work." The whole premise is that in order to get good, hard work done (in my case, jewelry) you’ve got to have long, uninterrupted chunks of time to really dig in.

And I see how last year I used things like obsessing over “social media content” (I’m looking right at you, Instagram), fussing over envelope colors, and incessant email checking, to avoid the “staring at a blank page” anxiety that happens before I sit down to really get to work or when I've hit a stumbling block.

So “Prioritize Deep Work” this year will look like less time on Instagram (it’s off my phone and my soul already feels lighter), checking my email during designated parts of the day, and blocking out chunks of my calendar to just be at my jewelry bench.

More than anything I want to make beautiful things for you, and I’m hoping that more time away from the fluff means that I can do that. Think (spoiler alert!) new lapis lazuli pieces, delicate gold jewelry rings and earrings, and some old favorites using new stones.

Here’s to a better 2022 with less of what we don’t need and more of what actually makes us happy.

P.S. Does dis-entangling yourself from social media sound great for your own personal life, too? I highly recommend Cal Newport’s other book, “Digital Minimalism,” chock full of strategies to do just that.

Sweater Weather: Style Tips for Fall Layering

StyleSara GoldenComment
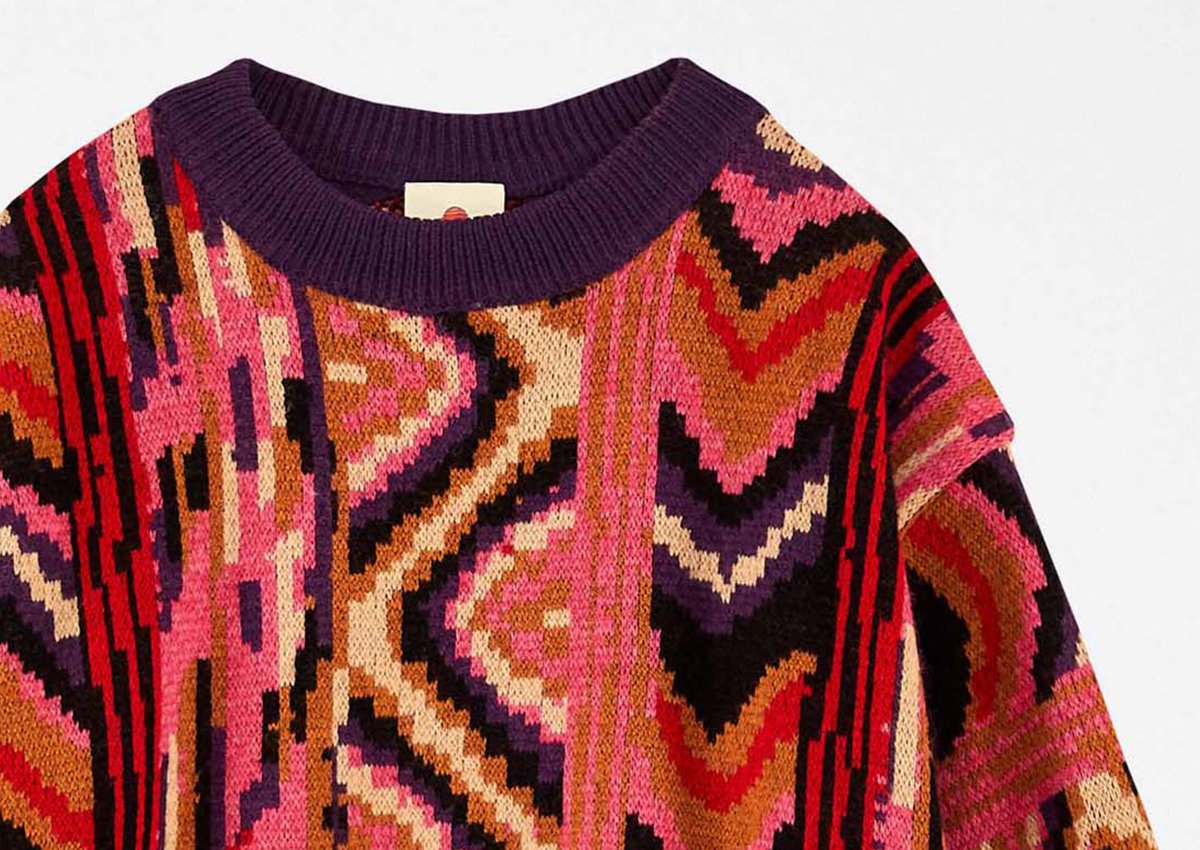
Sweater by Farm Rio

Above: Amazing sweater by Farm Rio

Here in our neck of the woods, the trees have gone fully technicolor, with so many leaves on the ground you hear nothing but crunching when you walk outside. Temperatures have dropped, too, and though I’m not a fan of the cold I am, ironically, a huge fan of sweaters. Give me a shaggy sleeve, a complicated fisherman’s cable knit, or a brightly colored yarn any day.

I also still insist on going full jewelry in the colder, months and have found that with a slight strategy shift, you can keep wearing jewelry along with those extra layers. Here are my top tips for transitioning into fall:

1.

Wear sweaters with necklaces that have extender chains — thicker knits tend to make necklaces sit higher than normal, so wear your necklaces on their longest settings to make up for it. Most of my necklaces have extenders already, but you can also purchase extenders that can be attached to any necklace.

Halcott Necklace in Dalmatian jasper

Wear this Halcott Necklace with…

Sezane sweater

…over this Sezane sweater.

2.

Show off an intricately patterned sweater with clean, all metal earrings — a necklace would get in the way of that great pattern, while earrings will compliment it.

Farm Rio Sweater

Pair this gloriously 80s-style Farm Rio sweater

Halo Hoops

…with these brass Halo Hoops.

3.

Pair larger scale necklaces with really chunky, solid-colored sweaters. The chunkiness and texture already make a statement, and need jewelry that can keep up.

4.

Slip a cuff or bangle over your sweater sleeve, with the sleeve helping keep it in place.

5.

Try your rings on different fingers — lower temps mean rings will fit a little more loosely, so move them around to find a better fit.

Some wider rings, like this Hathor Ring, will fit differently if you switch their direction on your finger, too.

Hathor Ring

A wide, chunky Hathor Ring.


Happy layering!

Tips for Cleaning Brass Jewelry

Jewelry CareSara GoldenComment
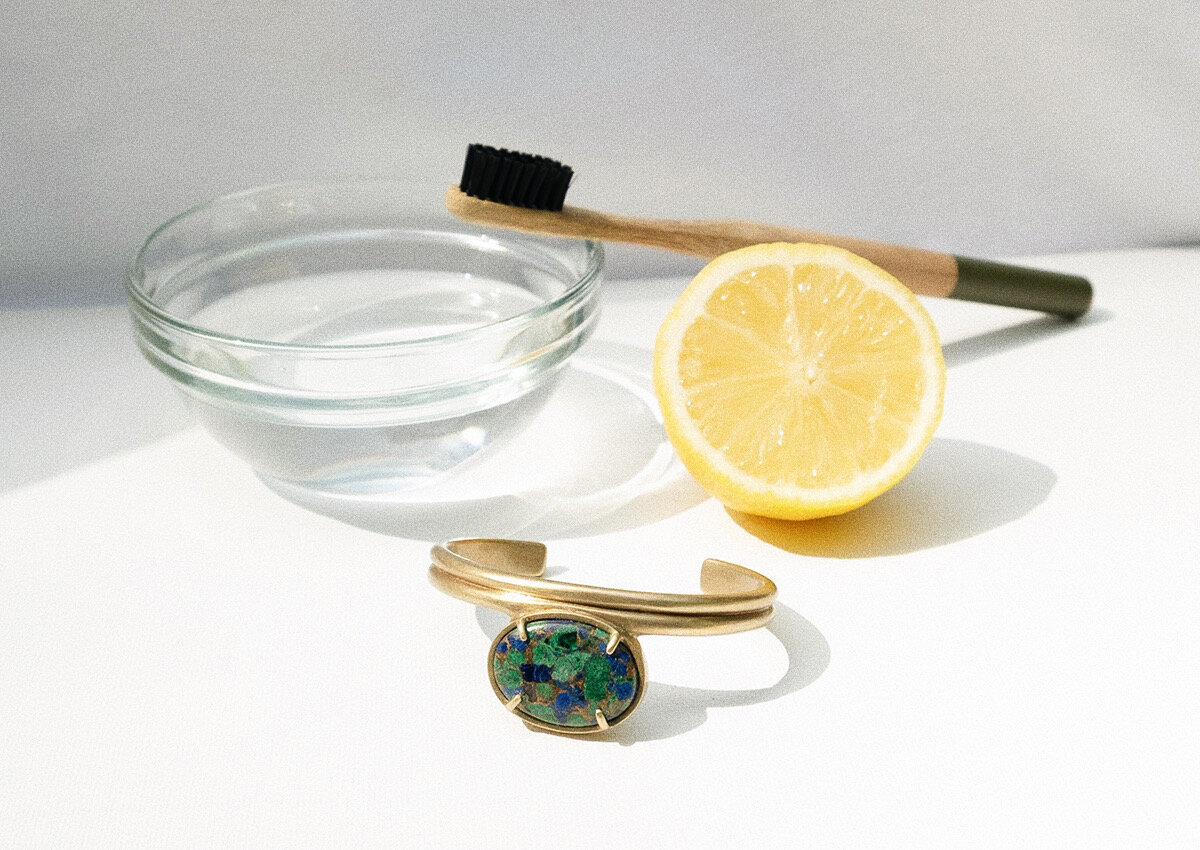
What’s with the lemon, you ask? Read on to find out.

What’s with the lemon, you ask? Read on to find out.

With its deep gold color and substantial weight, brass is a wonderful metal to use in jewelry, and I’m so glad to see more designers and jewelry lovers embracing it. Though I’ve heard people worry about how it might tarnish or wear over time, it’s actually pretty easy to keep clean and looking like new.

Below are my recommendations for the best ways to clean brass jewelry, from a light clean to a deep one.

Before you start:

  • For any cleaning, regardless of the metal, start with the least abrasive method first and working your way up. Lots of tarnish or build-up can be easily removed with just a microfiber cloth, or a soft-bristled toothbrush and soapy water. Why risk ruining a stone or leaving extra scratches if you don’t have to?

  • Does your piece have stones in it? Avoid using abrasives that could scratch them. Stones like pearl, opal, and turquoise are especially delicate — they’re super soft and can even absorb liquids. For those, stick with the most gentle cleaning you can.

  • With brass especially, make sure you dry the piece completely once you’ve rinsed it clean. Wet spots on brass will turn dark and need to be cleaned again.

Most Gentle Method:

Use a microfiber cloth, like the kind you’d use to clean your sunglasses, to rub away dirt. To get into the nooks and crannies, use a soft-bristled toothbrush to gently brush away any build-up. Anything with more texture could scratch delicate stones.

If that’s not quite working, put a few squirts of a gentle, chemical-free dish soap in lukewarm water. Soak the toothbrush in that mixture and scrub a bit harder. Be sure to rinse it in soap-free water and dry it completely with a lint-free cloth (I like how thin but absorbent Turkish towels are).

Gentle Method (for Stone-Free Jewelry):

Mix together 1 cup of water, 1-1/2 tbsp of lemon juice (or half a lemon), and 1 tsp of salt in a small bowl. Brush away any visible dirt or build-up on your jewelry with a soft-bristled toothbrush, and then let your piece soak in this lemon mixture for 15-30 minutes. Once it’s clean rinse it in lukewarm water and dry it completely with a soft cloth, like a Turkish towel.

Gentle Method (for Jewelry with Stones):

Mix together 1 tbsp of lemon juice —a little less than half a lemon— and 4-5 tbsp of baking soda in a medium-ish bowl (the baking soda will fizz and overflow in a too-small bowl). You’re looking for a wet paste consistency, so add more baking soda if it’s looking a little thin. Scrub your piece with this mixture, making sure to avoid the stones as much as possible.

If your piece has opals or pearls, just avoid this method entirely and stick with the soapy water from the “Most Gentle” method.

Once your piece is clean again, run it under lukewarm water and dry it completely.

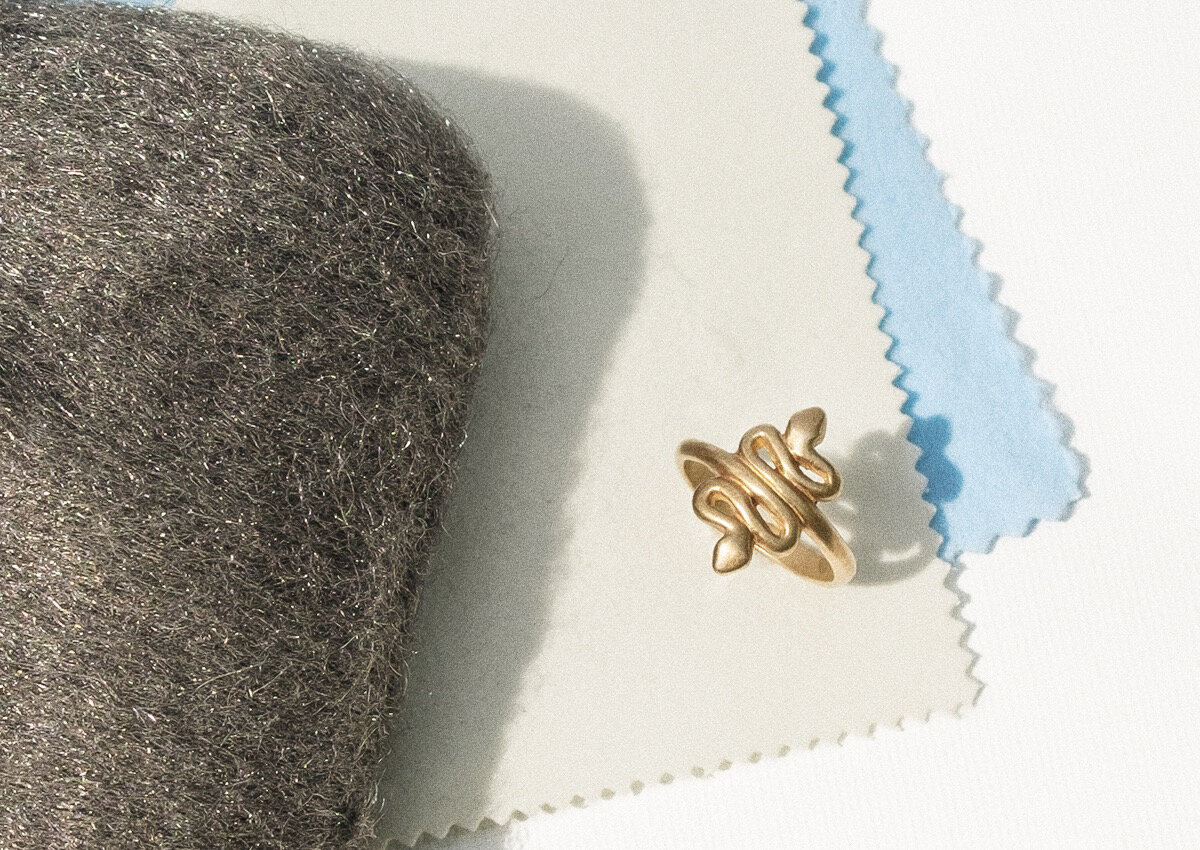
Polishing cloths and steel wool are great for your jewelry cleaning tool kit.

Polishing cloths and steel wool are great for your jewelry cleaning tool kit.

Most Abrasive Method:

Use a chemical-free jewelry polishing cloth, like a blue Sunshine cloth, to gently buff away the dirt. If your piece has a matte finish, lightly rub in circles to avoid creating a random shiny spot. If it’s got a brushed finish, gently rub in the direction of the grain. Once the polishing cloth starts turning black you’ll want to use a fresh section; that means it’s doing its job and you’ve used up the abrasives on that part.

If that’s still not doing the trick, you can get more aggressive with a fine-grit chunk of steel wool. Don’t use steel wool on shiny metal! It will absolutely mark up your jewelry, but the texture of it works with matte and satin finishes. And be sure to avoid hitting any stones with it, too.

If it’s a high shine piece you can use a slightly more abrasive polishing cloth, like the yellow Sunshine cloth. But again, don’t use steel wool on shiny metal.

Bonus: Sealing Your Brass

Now that your brass is clean and golden again, you might consider sealing it to stave off tarnish. Sealing is only a temporary solve since it will eventually wear away, but it can keep your jewelry looking fresher longer.

If you don’t mind a shiny finish, you can coat small pieces in a thin layer of clear nail polish. I personally like to use Renaissance Wax — put it on in thin coats, let it set for 5 minutes, and then buff it to the shininess you like with an old rag or t-shirt. It’s a museum-grade sealant that many professional jewelers use on all their pieces.


These methods should get your brass looking as good as new! This beautiful metal can last just as long as your favorite solid gold pieces with just a bit of love. Give these methods a shot and let me know in the comments below how it turned out for you!